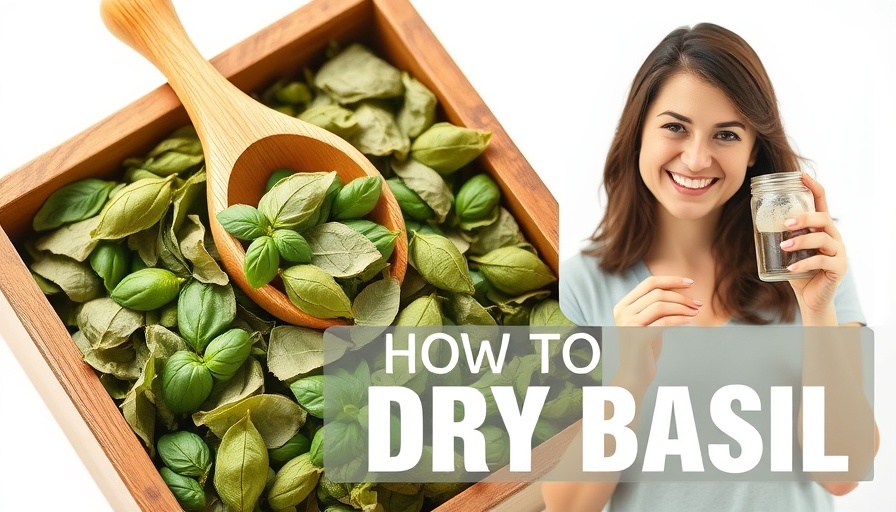
The Joy of Drying Basil: A Flavorful Journey
If you've ever grown basil in your garden, you know how quickly it can flourish—sometimes taking over your outdoor spaces before you realize it! However, there’s no need to let your homegrown basil go to waste. Today, let’s explore the simple yet rewarding process of drying basil so you can enjoy its delightful taste and fragrance all year round.
In 'Dry Basil Like a Pro | Quick and Easy Tips', the discussion dives into the best practices for preserving basil, exploring key insights that sparked deeper analysis on our end.
The Right Way to Prepare Basil for Drying
To start, it’s important to properly wash and dry your basil leaves. Rinsing them under water removes dirt, and letting them air out on kitchen towels ensures they’re ready for drying. The key is to remove all the stems, which you can do quickly with clean hands. This prepares your basil for even drying, making sure each leaf gets the attention it deserves.
Cooking Science: The Perfect Temperature
When it comes to drying basil, patience is crucial. Preheat your oven to a low temperature of 170°F. This method preserves the vibrant green color and the essential oils that give basil its remarkable flavor. Place the leaves on a baking sheet, ensuring they’re in a single layer for optimal air circulation. Keep a watchful eye on the leaves as they transition from fresh to dry—this process typically takes about 30 to 35 minutes.
Monitoring Progress: The Art of Perfectly Dried Basil
During the drying process, checking your basil every 10 minutes allows you to gauge its consistency. You’ll notice the leaves becoming darker but not browned, indicating they are losing moisture without losing flavor. Once they crumble easily to the touch, you know your basil is ready for the next stage!
The Exciting Step of Crumbling and Storing
One of the most satisfying parts of the process is crumbling the dried basil into your preferred storage container. Glass jars are excellent for this since they keep moisture away. By storing your homemade dried basil—properly sealed and in a cool, dry place—you can enjoy your harvest for up to three years. Just remember to keep an eye on the color and aroma to ensure it stays flavorful.
How to Use Dried Basil Like a Pro
Your dried basil can be used in any recipe calling for dried herbs, with a recommended adjustment of about one-fourth the amount compared to fresh. This not only highlights the basil’s flavor but also adds a personal touch to your culinary creations. Imagine sprinkling your home-dried basil onto pasta, pizza, or in sauces, elevating each dish with a flavor that resonates with your backyard garden.
Benefits of Drying Your Own Herbs
Aside from the satisfaction of utilizing your homegrown ingredients, there are considerable advantages to drying your own herbs. First, you have complete control over your production methods, ensuring no harmful chemicals are involved. Additionally, home drying saves money compared to purchasing store-bought herbs. You’re also preserving the essence of your garden, allowing seasonal flavors to play a role in your meals year-round.
Final Thoughts: Celebrate the Basil Season
As we embrace the beauty and versatility of basil, it becomes clear that learning to dry it is one of the simplest kitchen skills that can yield delightful rewards. By following these steps, you can relish the amazing flavor of freshly dried basil throughout the year, enhancing your meals while celebrating the labor of your own garden.
Thank you for joining me on this flavorful journey! Get ready to transform your kitchen with the unforgettable taste of your homegrown basil. Enjoy the fruits of your labor in delicious, nutritious ways!
 Add Row
  Add
Add 


Write A Comment