 Add Row
  Add
Add 


Master Your Drill: Understand Different Types and Their Uses
When embarking on any DIY project, understanding your tools is key. Among the most essential of these is the drill—an often underestimated powerhouse in the toolbox. In this guide, we focus on the drill/driver, the most commonly used drill type for home projects. Unlike its cousins, the impact driver and hammer drill which serve specialized capabilities, the drill/driver is a versatile ally in your home improvement endeavors.
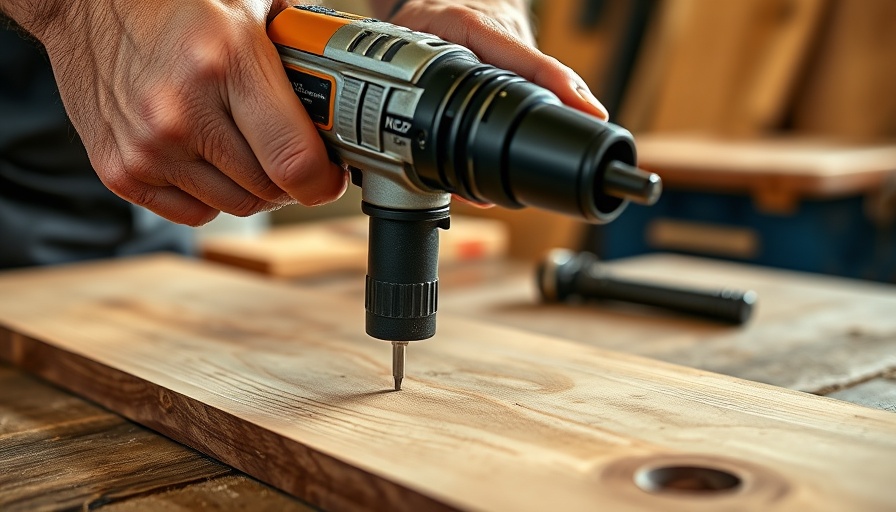
Parts of a Drill: What You Need to Know
For those of you just starting out, knowing the key parts of your drill can enhance your effectiveness. The grip should feel comfortable, and the torque adjustment ring, often overlooked, allows you to control the amount of force applied. Understanding these can make the difference between a professional finish and a frustrating mess.
Choosing the Right Bits: The Power of Versatility
Equipping your drill with the correct bits is crucial. As a homeowner in Southeast Michigan, you may encounter various materials like wood, drywall, and metal. Having assorted drill bits like wood bits for softer surfaces and masonry bits for tougher substrates will enhance your DIY capability, ensuring you’re always prepared for the task at hand.
Safety First: Preparing for Every Task
Safety cannot be emphasized enough when using a drill. Always wear protective eyewear and ensure your workspace is organized. Make sure your workpiece is secure using clamps and consider wearing gloves to protect your hands from any potential slips.
DIY Projects: Real-Life Applications of Your Skills
As you hone your skills with your drill, think about all the projects you could tackle! Simple jobs like hanging shelves or assembling furniture become effortless by mastering the drill. In the long run, understanding your tool not only enhances your confidence but saves you time and money.
Common Misconceptions: Demystifying the Process
Many first-time users believe that using a drill is straightforward—just point and go. In reality, drill/driver use can involve nuance in technique. Whether adjusting torque settings or selecting the proper speed for different materials, understanding these can empower you significantly in your DIY journey.
Next Steps for Improvement: Ready, Set, Go!
Now that you’re equipped with knowledge, the next step is to practice! Grab your materials and start with simple projects. As you grow more comfortable, consider more complex tasks. Don’t hesitate to ask professionals for guidance or assistance on bigger jobs; knowing when to seek help is equally vital.
As you move forward, remember: the joy of doing it yourself lies in the journey, not just the end result. Embrace learning and improvement in every project.
Ready to drill like a pro? Gather your tools, create your workspace, and let’s get started on transforming your home into a DIY paradise. Remember, each project you complete builds your skills and confidence!


 Add Row
  Add
Add 
Write A Comment