Restoring Your Popcorn Ceiling: A Simple Guide for Homeowners
Many homeowners, especially those with houses built during the 1970s and 1980s, may still have textured popcorn ceilings in their living spaces. While these ceilings served their purpose back when they were popular, they may now collect dust, allergens, and smoky residues, making it harder to keep your home looking and feeling fresh.
Cleaning your popcorn ceiling doesn't have to be a daunting process. In this guide, we will explore simple and effective ways to tackle that pesky ceiling and bring back its luster. However, if you are concerned about the potential for asbestos in your ceiling texture, it's wise to enlist a professional for a thorough inspection before attempting any cleaning.
Understanding the Concerns with Popcorn Ceilings
As you prepare to clean, it’s essential to understand the history of popcorn ceilings. Many were textured with materials containing asbestos, a known carcinogen, until regulations were established in the 1980s. Therefore, before embarking on any cleaning project, ensure your ceiling is safe. If you suspect it might contain asbestos, seek technical help to avoid the risk of stirring up harmful dust.
Getting Prepared: Tools and Materials You’ll Need
Before you begin cleaning, gather your supplies. Here are some tools that will make the process smoother:
- Vacuum with a soft brush attachment: This will help lift dust without damaging the texture.
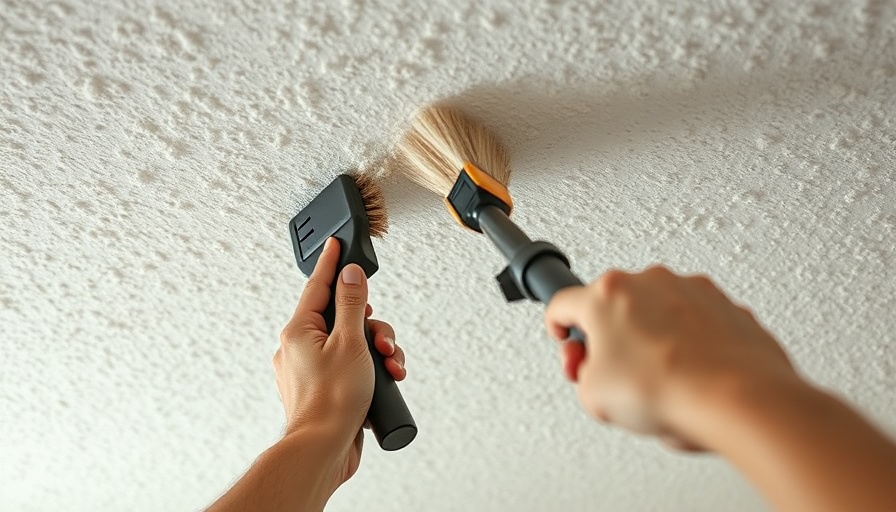
- 2-inch chip brush: Perfect for gently brushing over the popcorn texture.
- Drop cloths: Protect your furniture and flooring.
- Sponge and spray bottle: For damp cleaning if required.
- Safety glasses and mask: Essential for protection.
Step-by-Step Cleaning Process for Your Popcorn Ceiling
Here are the simple steps you can follow to clean your popcorn ceiling:
Step 1: Prep the Area
Set yourself up for success by covering furniture and flooring with drop cloths. Make sure to clear the area of any items that could be damaged by falling dust.
Step 2: Vacuum the Ceiling
Utilize your vacuum to remove as much surface dust as possible. The soft brush attachment is perfect for this task, preventing any damage.
Step 3: Dust Off the Ceiling
After vacuuming, take your chip brush and very gently dry brush any remaining areas of your ceiling. This brings back its aesthetic appeal without exerting too much effort.
Step 4: Clean Stains If Necessary
If your ceiling shows stains or grime, light damp cleaning may be needed. Use a sponge with a mix of water and mild dish soap—but don't over-saturate!
Step 5: Final Touches
Once cleaned, take a moment to admire your work. Proper maintenance will help protect your ceiling from future allergens and keep your living environment healthy.
Conclusion: Healthy Ceilings Equal Healthy Homes
Maintaining a clean popcorn ceiling not only enhances the look of your home but also contributes to a healthier indoor environment. If your ceiling needs more than a simple cleaning or contains asbestos, calling in a professional is the safest bet. Cleaning your popcorn ceiling can be a rewarding DIY project that improves your home's atmosphere.
So, why not give your ceiling some care? Gather your tools and roll up your sleeves. A clean ceiling awaits!
 Add Row
  Add
Add 


 Add Row
  Add
Add 

Write A Comment