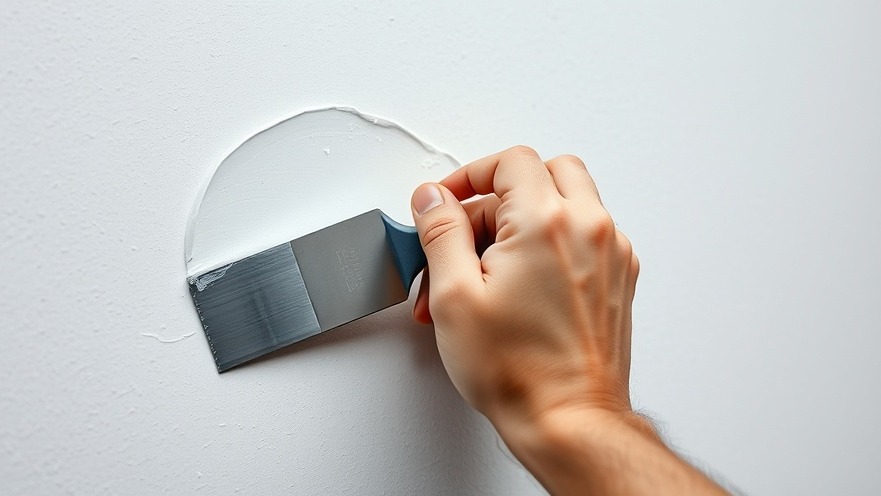
Mastering the Art of Drywall Repair: Solving Common Issues with Ease
For homeowners, small holes and cracks in drywall can feel like an impending disaster, but fear not! Learning how to fix a hole in drywall is a crucial DIY skill. With just a few supplies and some simple steps, you can achieve professional-looking results that will make your walls look as good as new. Let's break down this process and explore why it’s a valuable addition to every homeowner’s toolkit.
Gathering the Right Tools and Materials
Before embarking on your drywall repair journey, it’s essential to gather the necessary tools. You’ll need a putty knife, fine-grit sanding sponge, paintbrush, and most importantly, a work light to illuminate your repair area. Additionally, having clean rags, some high-quality spackle, and paint matching your wall color will ensure a seamless finish.
Illuminating Hidden Flaws: The Importance of a Work Light
Many homeowners overlook the critical step of properly lighting their repair area. By using a work light, you can spot imperfections in your drywall that you might not notice otherwise. When you shine a light across the wall, it will reveal any undetected holes, making it easier to address all issues in one go. This approach not only saves time but also ensures a more polished final look.
Step-by-Step Instructions for Flawless Repairs
While the steps to repair drywall are relatively straightforward, attention to detail is key in achieving the best results. Here's how to go about it:
Turn on the work light: Position it correctly to highlight any defects on the wall.
Sand off loose drywall: Using either a fine-grit sanding sponge or a putty knife, smooth out the area around the hole to create a clean surface for repair.
Remove drywall dust: Wipe the area with a damp rag to eliminate dust, ensuring good adhesion for the spackle.
Apply the spackle: Using the putty knife, apply a layer of spackle to the hole, pressing down firmly to fill it completely.
Allow to dry: Patience is key! Wait one to five hours, depending on conditions, for the spackle to dry fully.
Sand and paint: Once dry, sand the area gently to create an even surface and finish with paint to match your wall.
Understanding the Different Types of Spackle
When selecting a spackling compound, you'll encounter various options including lightweight, all-purpose, heavyweight, and epoxy versions. For small holes, a lightweight, non-shrinking spackling compound is often the best choice because it’s easy to work with and dries quickly. Familiarizing yourself with these types adds another layer of expertise to your repairs, ensuring you always use the right tool for the job.
The Takeaway: Empowering Yourself to DIY
Diving into home repair projects can be daunting, but understanding how to fix a hole in drywall is a step toward DIY empowerment. No longer do you need to live with those pesky imperfections on your walls! By taking the time to learn and practice this skill, you can keep your home looking its best without the connections of a handyman.
Ready to tackle your next home project? Keep these insights in mind as you unleash your inner handyman!
 Add Row
  Add
Add 


 Add Row
  Add
Add 

Write A Comment